This is the Jeans speargun diagram and shows the Technisub design philosophy. The Grinta is very similar to the Jeans but has a coaxial inner barrel unlike the high mount barrel shown in the Jeans. I suspect the Grinta was made with a coaxial layout so that they could use a tank twist power throttle which would have been impossible with the Jeans gun.

-
Welcome to the DeeperBlue.com Forums, the largest online community dedicated to Freediving, Scuba Diving and Spearfishing. To gain full access to the DeeperBlue.com Forums you must register for a free account. As a registered member you will be able to:
- Join over 44,280+ fellow diving enthusiasts from around the world on this forum
- Participate in and browse from over 516,210+ posts.
- Communicate privately with other divers from around the world.
- Post your own photos or view from 7,441+ user submitted images.
- All this and much more...
You can gain access to all this absolutely free when you register for an account, so sign up today!
Technisub Ranger shorty - removing inner barrel
- Thread starterspoolin01
- Start date
Thread Status: Hello
, There was no answer in this thread for more than 60 days.
It can take a long time to get an up-to-date response or contact with relevant users.
It can take a long time to get an up-to-date response or contact with relevant users.
Yes, that's the one I was talking about, but as you mentioned, it creates another point that needs to be sealed, and so seems an odd design, when they could have just put a collar on the fill valve body so it would clamp the entire gun together using the barrel.
As you can see on the Jeans, and the Grinta is the same, they only need the two transverse pins to hold the outer handle on the inner body. They don't show much of the inner body on the Jeans diagram, but it will be a long ribbed cylinder as you see on my Grinta dismantling photos. There is a third pin, but it is the pivot for the safety lever in the bottom of the trigger finger guard, so has nothing to do with holding the outer handle on.


Assuming the guy who did the drawing was reasonably accurate I have put the gun together on paper and it looks like that pin shown in red misses the air reservoir. It and the trigger pin shown in blue hold the handle on the gun by locating against the ribs molded on the inner body.

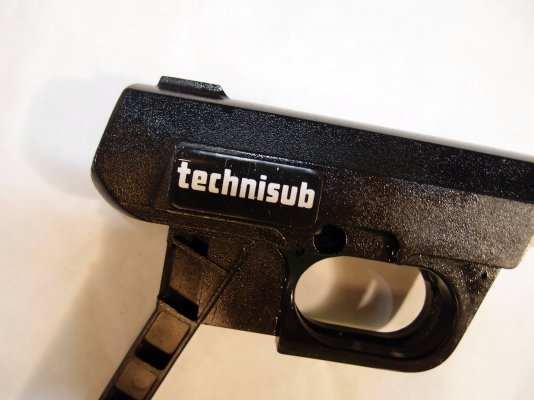
After doing a bit of image manipulation it looks like that pin comes out at the bottom of the "h" in Technisub, so you can either put a hole in it or peel the sticker off by sliding a toothpick under the rear edge and carefully lifting the sticker. I think if you tap the pin using a drift and small hammer and see where a bump appears in the sticker then you can work out what to do from there. When Technisub serviced these guns they probably had a supply of spare stickers and replaced anything that was damaged.

How did you make this image? I'll try peeling the badges off, but if they don't come readily, I'll bring the handle home and apply some heat first.After doing a bit of image manipulation it looks like that pin comes out at the bottom of the "h" in Technisub, so you can either put a hole in it or peel the sticker off by sliding a toothpick under the rear edge and carefully lifting the sticker. I think if you tap the pin using a drift and small hammer and see where a bump appears in the sticker then you can work out what to do from there. When Technisub serviced these guns they probably had a supply of spare stickers and replaced anything that was damaged.
View attachment 60307
I superimposed the flipped mirror image of the LHS of the gun over the RHS image after adjusting them to be the same size and then cut away all but the pin image. It may not be exact to within a millimetre, but it should be very close. I had images of both sides of the rear handle, but one had been taken slightly closer to the gun. By matching the top length of the handle section on both images I could get them the same length and that should also be the same height. This was done by changing the image size using the magnification tool that either expands or shrinks an image.
Last edited:
Always handy to have a punch set, especially in the smaller diameters, to knock pins out without damaging surrounding plastic or alloy parts.

The Scubapro Magnum is a nice gun and was made in Italy for the Scubapro Company, and eventually appeared as the Salvimar Vintair when Salvis and Figli decided to become a manufacturer in their own right rather than being a components supplier for other dive companies. If they had capped and then sealed the handgrip the gun would most likely float after the shot, but they left it open as most manufacturers now do.I've got brass punches I use for servicing scuba regulators, as well as a motley collection of various other types. I brought the Ranger home to work on, but first am in the middle of putting new o-rings into a SP Magnum 45.
Last edited:
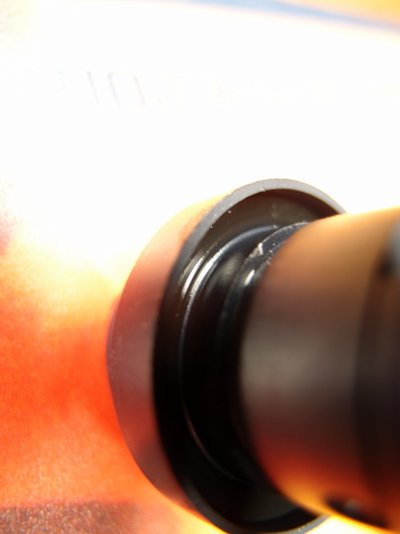
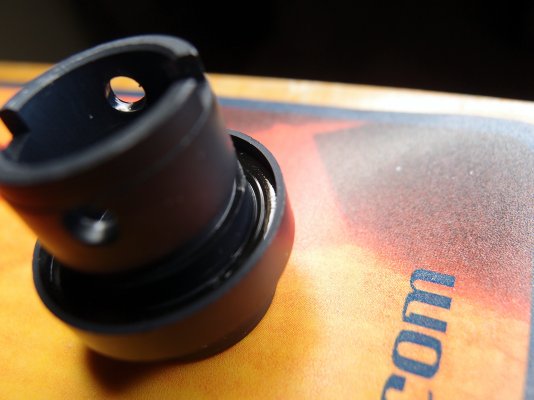
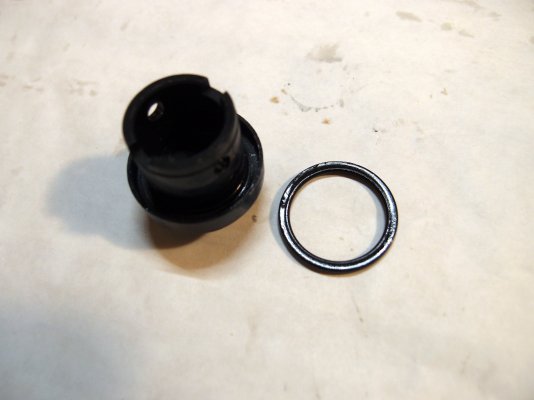
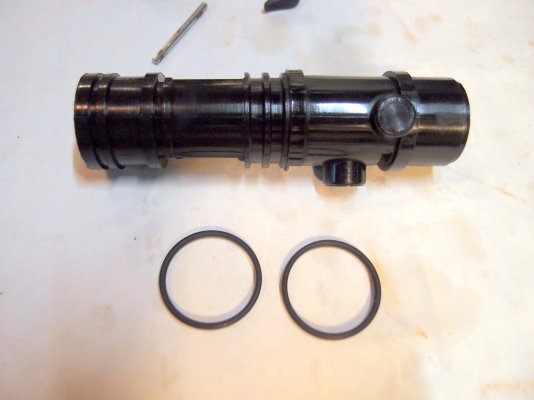
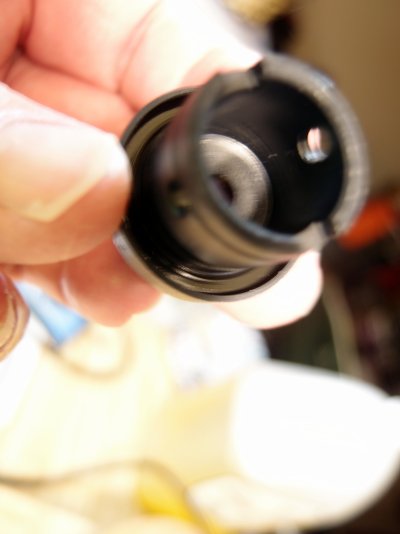
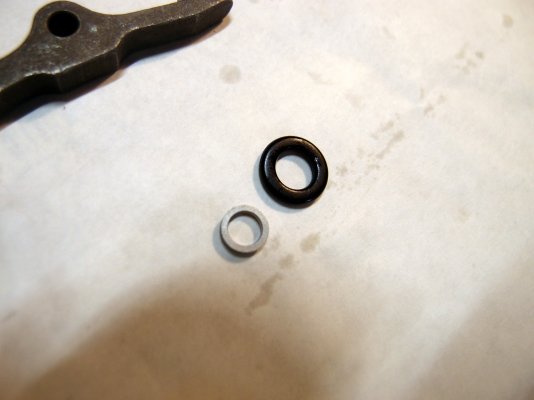
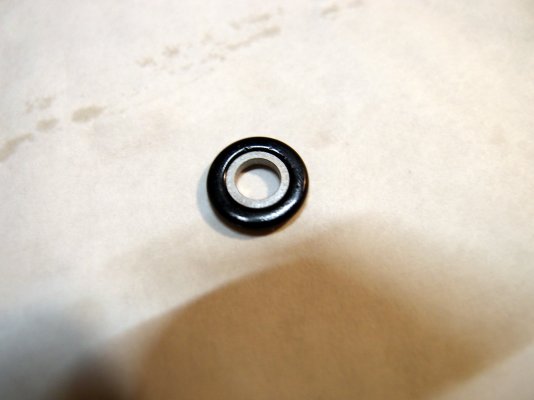
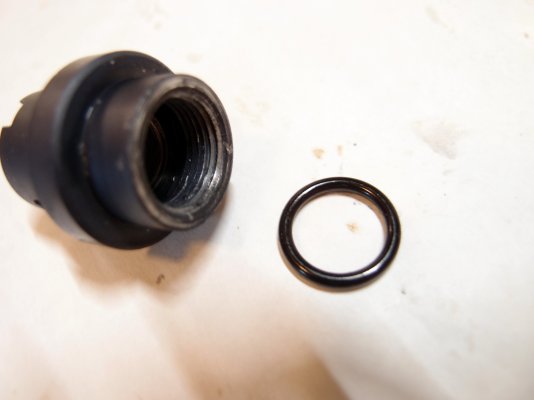
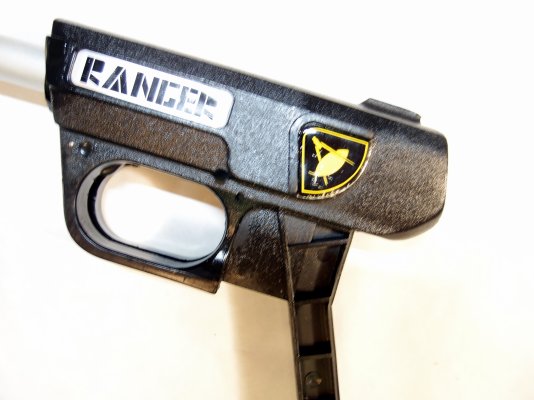
I came up against all the odd o-rings in the Magnum, so while I try to find replacements, I got back to the Ranger. Those badges on either side of the handle came off easily with a little heat, and I was able to finish dismantling it. There were a lot of o-rings hiding here and there, but otherwise now that I know how it was put together, I can see that taking it fully apart is pretty easy. Now I'm on to finding replacement o-rings for this gun as well. Here are some pics (oops, gotta figure out what the size limit is):
Attachments
-
 P9050638.JPG521.8 KB · Views: 97
 -
 P9050637.JPG939.3 KB · Views: 94
 -
 P9050636.JPG861.8 KB · Views: 97
 -
 P9050635.JPG438.1 KB · Views: 98
 -
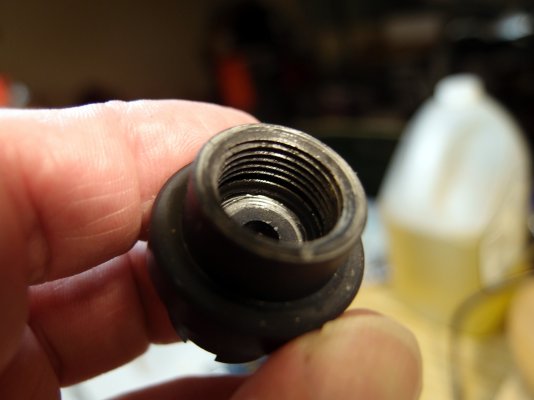 P9050634.JPG654.8 KB · Views: 98
 -
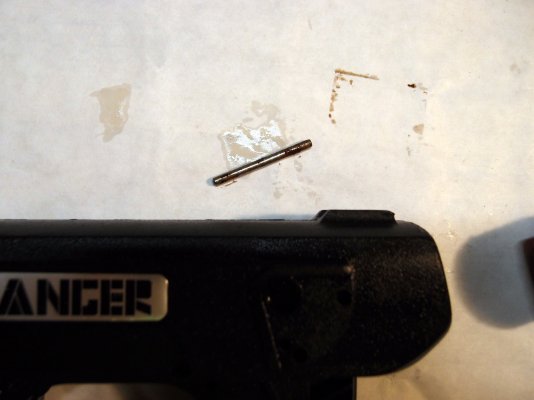 P9050633.JPG969.3 KB · Views: 96
 -
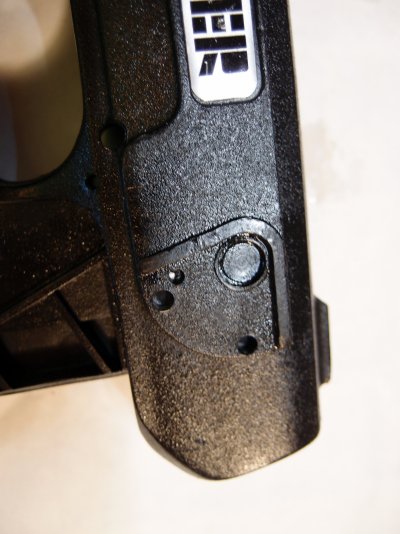 P9050632.JPG1 MB · Views: 105
 -
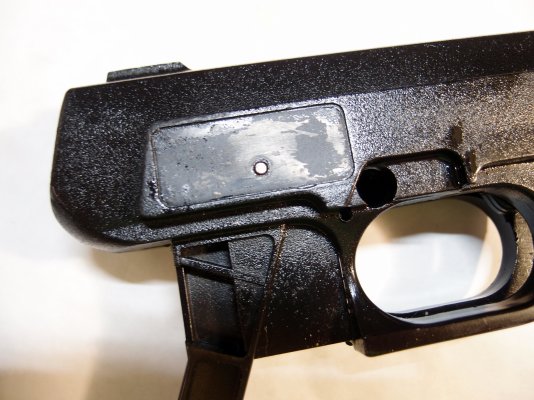 P9050631.JPG1.2 MB · Views: 91
 -
 P9050630.JPG955.5 KB · Views: 90
 -
 P9050629.JPG869.2 KB · Views: 92
Interesting to see that the inner body was moulded in black when they produced this one. Mares guns initially had all black plastic parts, but at some stage produced them in white for those parts that you cannot see with the gun assembled. Usually with a kit available I would replace all the rings, but as they are not then rings that are OK on a careful visual inspection can go back. Ditto for any rings that you don't disturb on their seats. The trigger transmision pin "O" ring if the gun had been leaking there needs replacing. As you now know the gun isn't that complicated to take apart once you know how it goes together. A pity manufacturers don't put more effort into the gun exploded diagrams and instructions, it would not be too hard to produce a proper manual for the gun. The servicing people probably got one, but they don't get distributed.
I usually shrink my photos by about 40 percent by opening them in MS Paint and then using the resize tool. You will notice they often have an R suffix as I keep the originals which are about 1.5 MB and the smaller versions that I post are around 500 KB. Where applicable I will crop the image using the select tool as the background may be of no interest, such as an expanse of table top.
I just reinstalled Picasa for quick picture management. I use Lightroom on my main PC, but it's not as quick and I only have one license, and Picasa is still about the most user-friendly software I've found. It's a shame they stopped its development, I guess they wanted the revenue and snooping potential of the cloud system. The ones that wouldn't upload were 2-4MB, while the ones uploaded were less than 1.3MB.
The o-rings were almost all pretty distorted - some I even wonder if they were round to begin with. With dive regulators, I've found that most of them use a fairly consistent and standard collection of o-rings, with some exceptions, and they don't typically get so stressed that they can't be re-used in many cases. Not sure that's going to be the case with these spearguns. It's an occasion to improve the o-ring collection. The first challenge was the tank o-rings for a couple of Seac Asso guns. I couldn't match the kit o-rings but found a couple of metric sizes that are close enough that they so far are working. I put one of each in one gun as an experiment. I haven't even gotten to the Nemrods. Not sure I ever will. Those I collected because I liked their retro look and had ambitions of having a display wall of cool looking and also functional old guns. Probably will just off-load them instead.
It is a shame they don't make service manuals available after the product is long gone from their line-up. Dive regs are the same. A few makers bucked the trend but most don't willingly publish their service manuals, though a few do at least include exploded diagrams in the user manuals. The DIY community makes all this possible.
Initially pneumatic speargun manufacturers assumed that gun owners would do their own repairs because the guns were not very common and a dealer network was virtually non-existent, but at some stage they decided to make gun repair one of the jobs that could earn money for the dealer network. That is when detailed component diagrams supplied with each gun, such as those from Nemrod which were exceptionally detailed, began to be less common and some manufacturers stopped distributing them completely. The problem is being a bit fiddly to work on and as time is money some dive shops would rather you bought a new gun. That attitude then forced users to either junk their gun or set out to do their own repairs. The Jeans and Grinta guns were advertised as being able to be dismantled without tools, which is kind of true, because bar the muzzle which is screwed on the gun is held together with pins, you don't need an inlet valve body tool to unscrew the back end of the gun. However a lot depends on what you consider a tool is as I have never found a pneumatic gun that could be taken apart with your bare hands, or as one advertising copywriter wrote, the use of a coin.
Maybe you could photograph the parts all laid out as I did for the Grinta. It would be a handy reference for anyone undertaking work on what seems to be a relatively rare model.
Yes, I plan to do that both for the Ranger and the Magnum(s). Just spent many hours measuring and poring over o-ring dimensions. Have an order finally ready that should cover the bases for these two guns. Also working on what I guess is a Meerisub Mamba conversion of a Seac gun. It holds air except at what I'll call the trigger pin - the actuator between the trigger and sear. The screw-in fitting that the pin passes through has a very small diameter to the hole and the o-rings that fit inside - there's a 1.5mm trigger pin that looks crudely home made, and maybe a 2mm pin would fit, so I've ordered some 1.5mm and 2mm SS pins. I pulled the pin from another Seac Asso, and it's 3mm, so I wonder why this one is different. I gather these guns were some kind of dry barrel conversion. When I bought it years ago, the seller mentioned it needed the o-rings to seal the front of the barrel, but I never followed up on what that meant. It came with 3 shafts, so I'd like to fix it up. Do you know what might be needed?
Yes, the Mamba was a sealed slider system which meant the slider had an "O" ring which slid directly on the spear shaft and was trapped inside it and the muzzle opening had an "O" ring captive inside it that sealed on the outer body of the slider when it was pushed into the muzzle. To ensure the sealing action some had an extra "O" ring in the muzzle or on the slider. The Mamba was marketed as both complete guns and conversion kits, the Mamba guns mainly being conversions of current models using their rear handles. Originally the Mamba guns had smaller diameter tanks to increase the ability to wave the guns around underwater.
The trigger transmission pins were initially ariound 3 mm, but when the first Mares Cyrano came out the special Apnea model had a smaller 1.5 mm transmission pin and eventually it was found in many other guns to decrease the force that you face when pulling the trigger. I have never had any trouble pulling the trigger on any of my guns, so I don't really know what the fuss was about. Speargun triggers are best pulled quickly rather than a slow pull as the trigger mechanism is under the force created by the gun's propulsive power, unlike a firearm where the force is provided by the mechanism springs which is orders of magnitude below a firearm's shooting power. High loading on the release faces can damage speargun triggers, however the pneumatic gun has the advantage of these internal parts all swimming in oil.
The trigger transmission pins were initially ariound 3 mm, but when the first Mares Cyrano came out the special Apnea model had a smaller 1.5 mm transmission pin and eventually it was found in many other guns to decrease the force that you face when pulling the trigger. I have never had any trouble pulling the trigger on any of my guns, so I don't really know what the fuss was about. Speargun triggers are best pulled quickly rather than a slow pull as the trigger mechanism is under the force created by the gun's propulsive power, unlike a firearm where the force is provided by the mechanism springs which is orders of magnitude below a firearm's shooting power. High loading on the release faces can damage speargun triggers, however the pneumatic gun has the advantage of these internal parts all swimming in oil.
Just a note on the original Sten, rather than a transmission pin it was a chromed brass cylinder that had an "O" ring trapped at its mid point which was like a tiny piston that ran inside a plastic bore hole in the grip handle moulding. Any damage to the plastic bore hole and the gun was toast, but surprisingly if the gun was well maintained then this system was very long lived.


