Y
Yeti
Guest
lol!........."ya gunna need a bigger boat!"......it is full, but its not a small shed! I nearly wet me knickers when i saw em all! I wanted to have a go with em all!rofl
Welcome to the DeeperBlue.com Forums, the largest online community dedicated to Freediving, Scuba Diving and Spearfishing. To gain full access to the DeeperBlue.com Forums you must register for a free account. As a registered member you will be able to:
You can gain access to all this absolutely free when you register for an account, so sign up today!
")
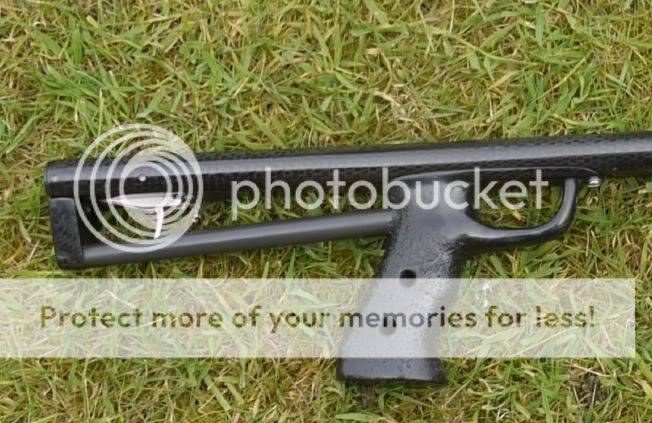

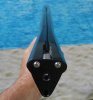
Yes just one band & a 6.5 mm spear.
I have tried several lengths & diameter spears, the gun floats even with a 7mm spear fitted but is slightly muzzle heavy.
The only way I can fine tune the muzzle is by adjusting the spear length however most carbon Euro guns sink with the spear loaded anyway so it looks pretty promising.
To get the perfect balance I will add a little weight in the rear of the gun & if necessary a cut down spear.